Getting started with Flare
Flare is free to try for 10 days, no credit card required. Register an account to get started.
Creating a new project
After you have created your account, you will be asked to add a new project. You need to enter some information to set up a new project.
- Project name (e.g. "Client Site").
- Group name (optional, e.g. "Client Name").
- Environment (e.g. "Production"). Flare doesn’t enforce environments, so you can send errors from any environment to any project.
- The technology you are using.
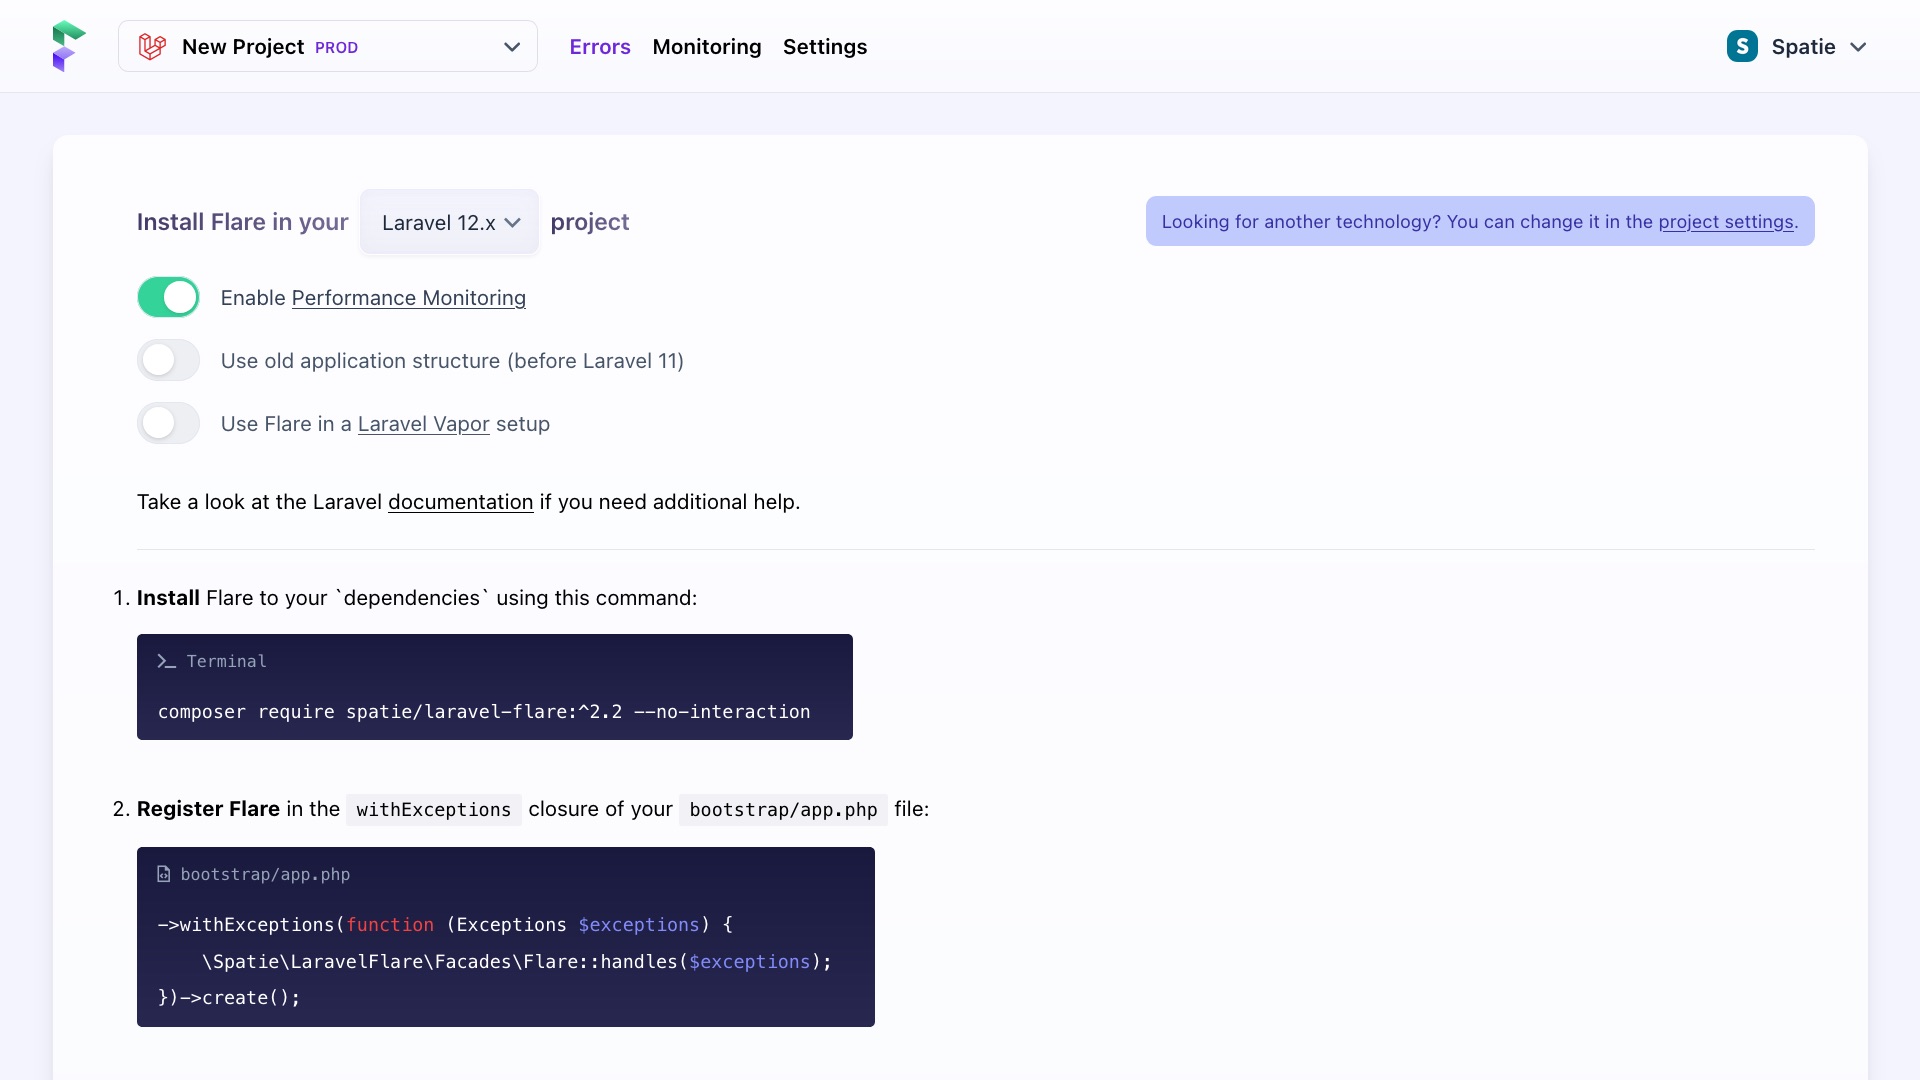
After you've created your project, we'll show you step-by-step instructions on how to set up your app to send errors to Flare.

These steps differ depending on your chosen technology and options. You can also find these instructions in the Laravel, PHP or JavaScript documentation.
Your project is ready as soon as Flare receives a test signal from your app.
Enabling Performance Monitoring
Flare automatically tracks errors for all types of projects and supports performance monitoring for Laravel and PHP.
To enable performance monitoring for new projects, make sure the toggle 'Enable Performance Monitoring' is active when creating them. This adds the steps needed to start collecting performance data to the instructions.
For existing projects, refer to the documentation for your chosen technology (Laravel or PHP).
Next steps
Congrats, your first project is now active! You can add more projects anytime to monitor other apps. It’s useful to create separate projects for your staging environment or your JavaScript frontend to catch those errors too.
Once your project is set up, enable error notifications to get notified when an error occurs.
Organizing projects
Flare lets you group related projects to keep everything organized. This is helpful when multiple projects belong to the same application, for example, a Laravel backend and a React frontend. Grouping gives you a better overview of your entire app.
A common structure might look like this:
| Group | Technology | Environment |
|---|---|---|
| Flare | Laravel | Production |
| Flare | Laravel | Staging |
| Flare | React | Production |
| Flare | React | Staging |
- On this page
- Creating a new project
- Next steps

