- Error tracking
- Performance monitoring
GitLab integration
If you use GitLab to track issues in your app, you can connect Flare to GitLab.
Our integration allows you to:
- Create a GitLab issue directly on a Flare error.
- Associate a GitLab issue with a Flare error.
- Automatically close or reopen a GitLab issue status when you resolve / unresolve an error in Flare.
Flare lets you connect to the gitlab.com cloud server or your self-hosted GitLab instance.
Getting started
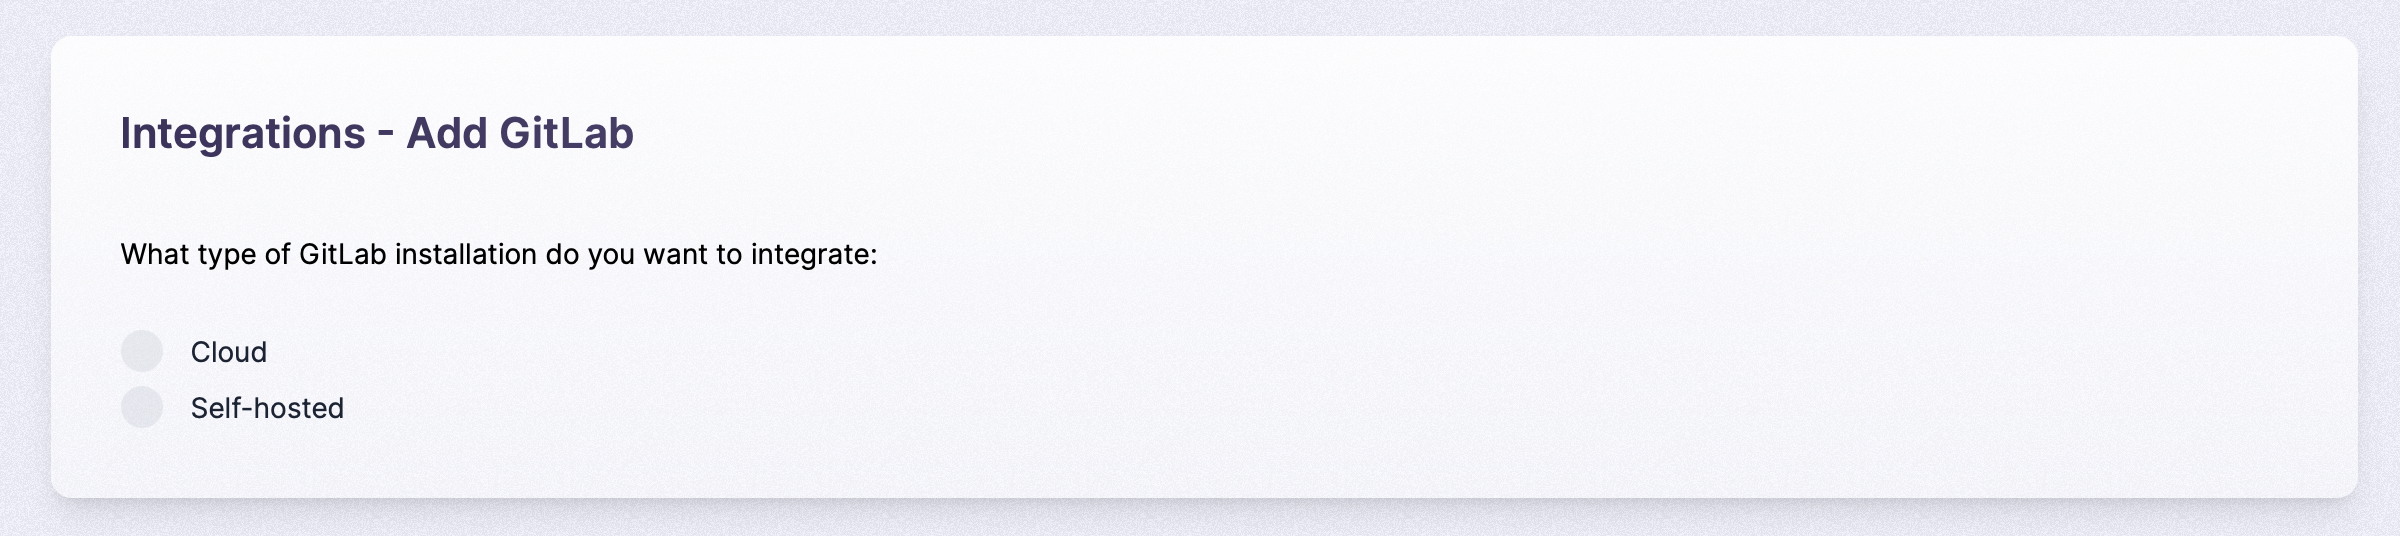
Go to the Integrations page within the team settings. Click on "New Integration" and select GitLab. Flare supports connections with GitLab Cloud and GitLab CE/EE (Self-hosted GitLab.)
Cloud install
If you've chosen Cloud, you'll be redirected to GitLab. After authorizing Flare, you'll have a new GitLab connection for your team:
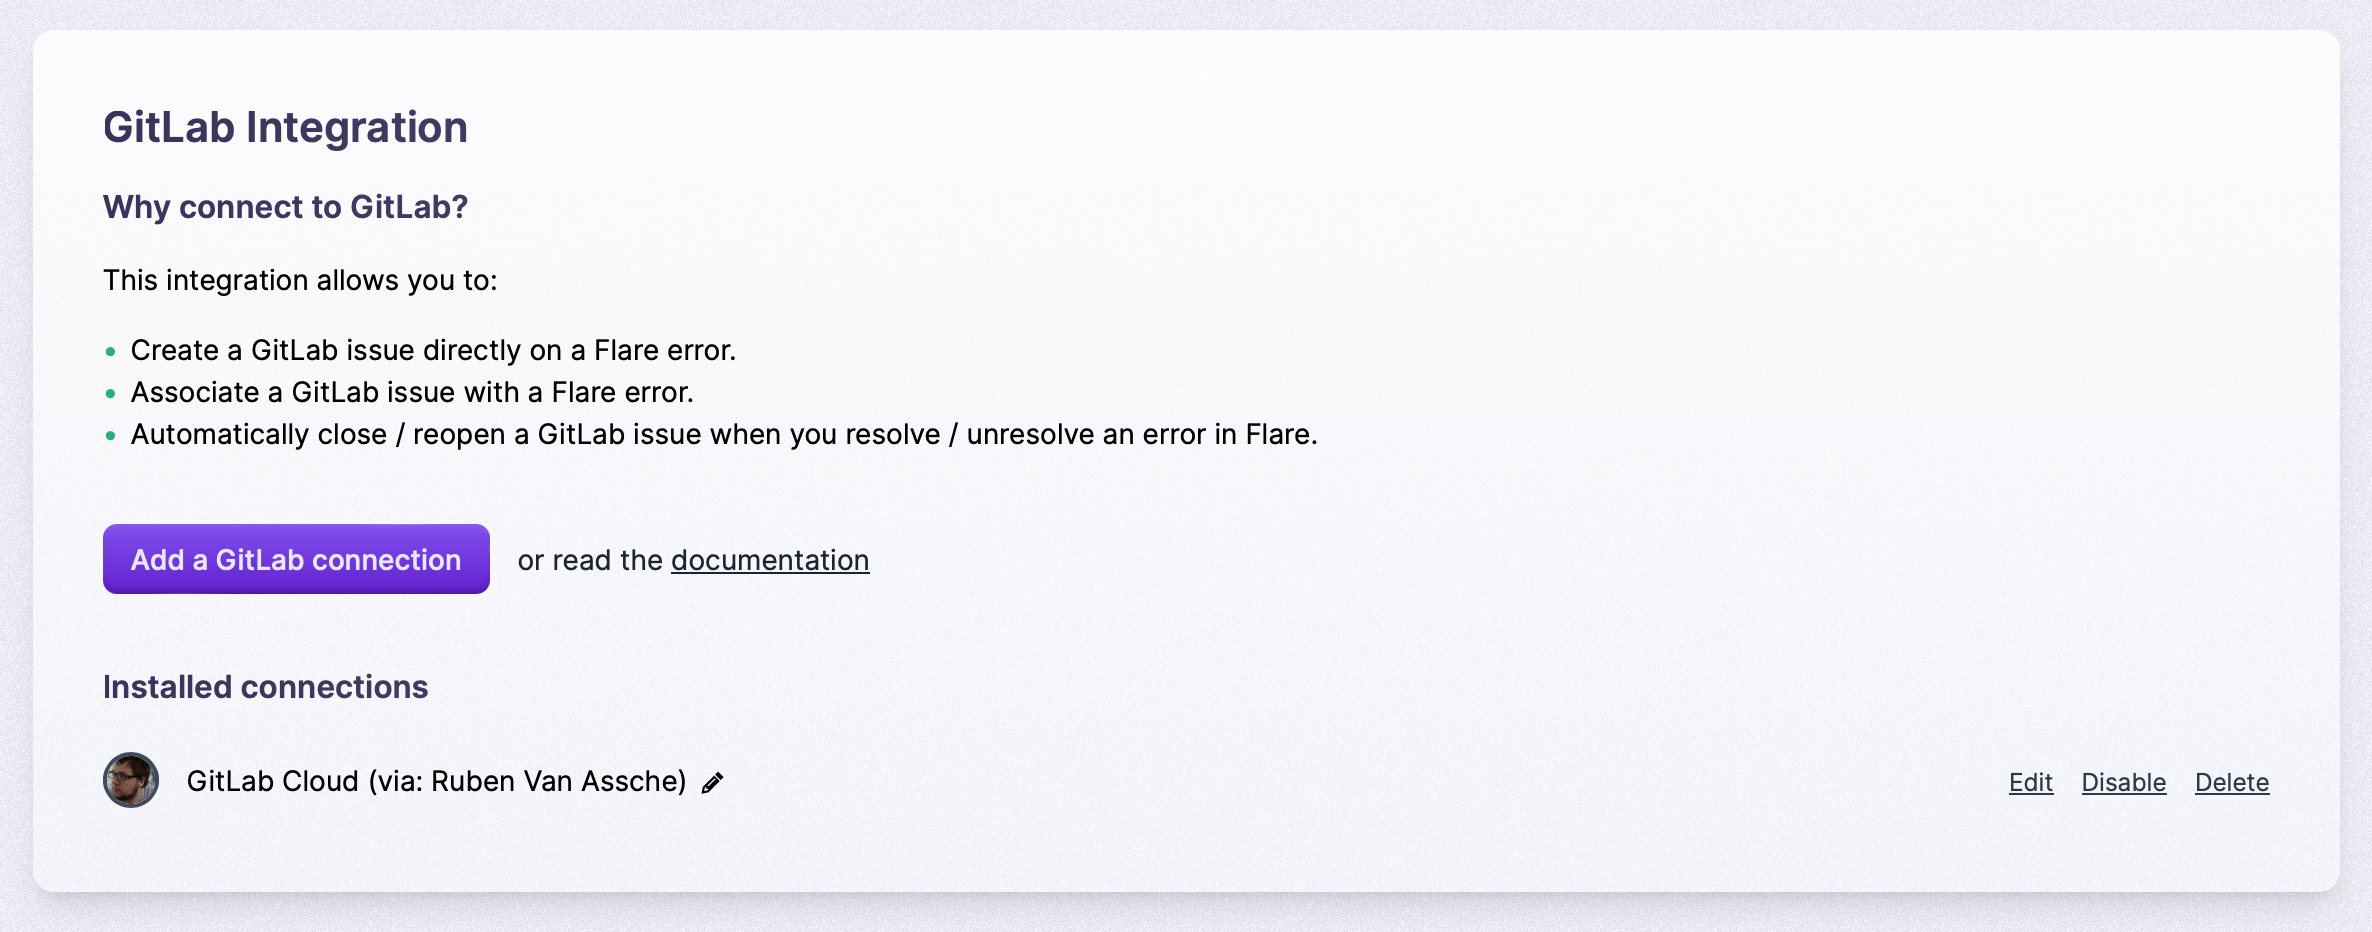
That's it, you've installed Gitlab. Continue reading the "Adding GitLab to your projects" section.
Self-hosted install
When you select self-hosted, you must create a new application within your Gitlab instance. We have a wizard that guides you through the process. In step 1 we explain where you can create a new application in your GitLab instance:
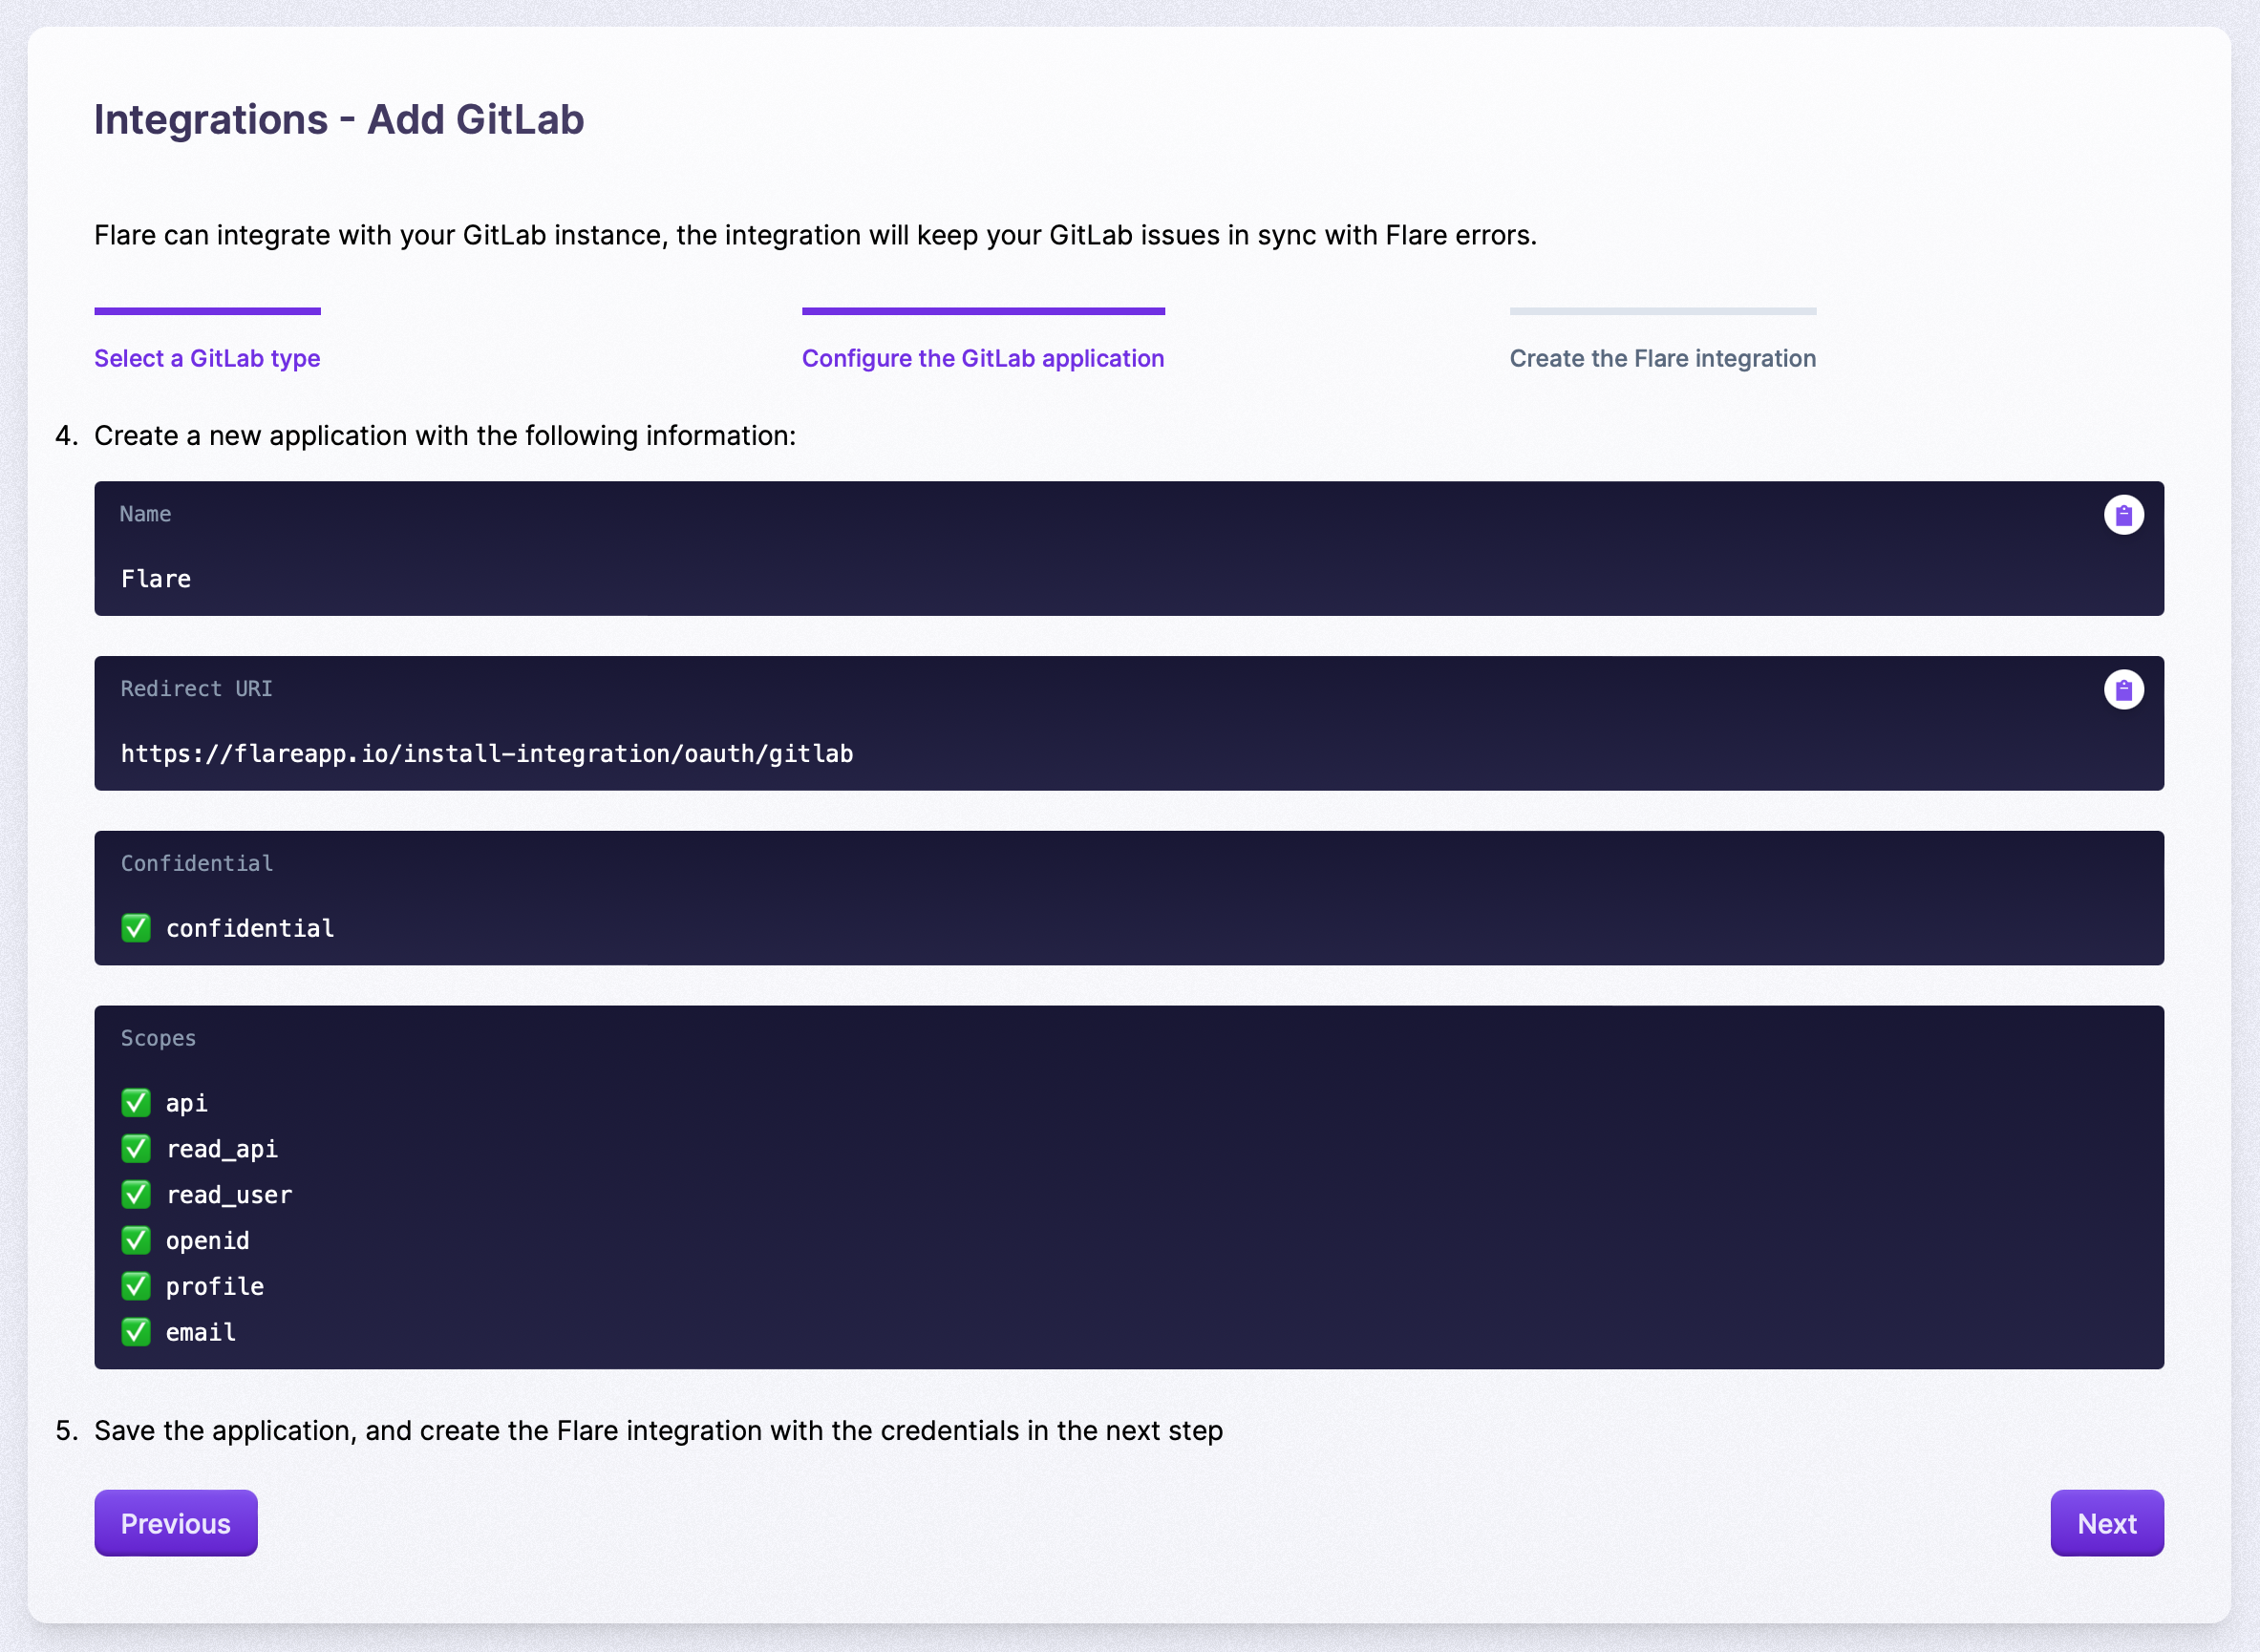
Next up, the wizard provides you with all the information you need to create a new application for Flare in GitLab:
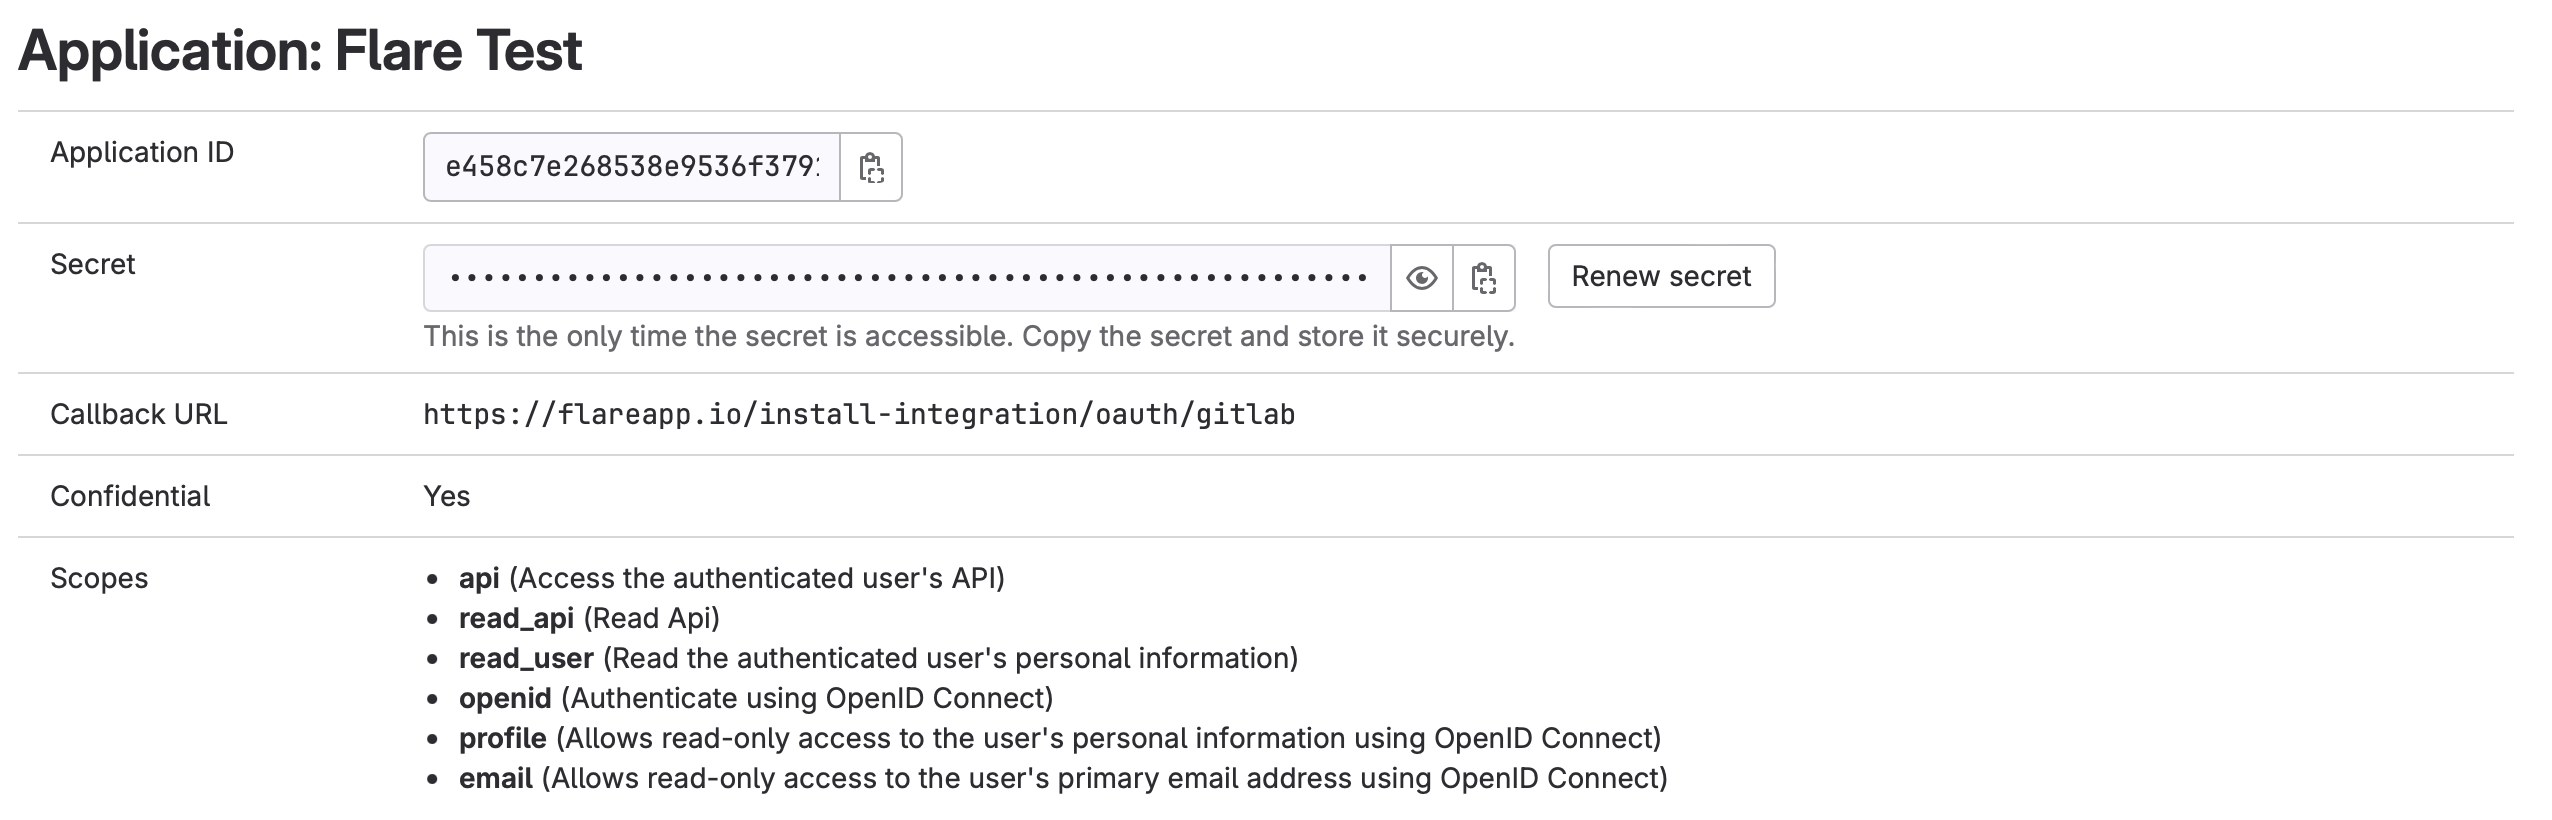
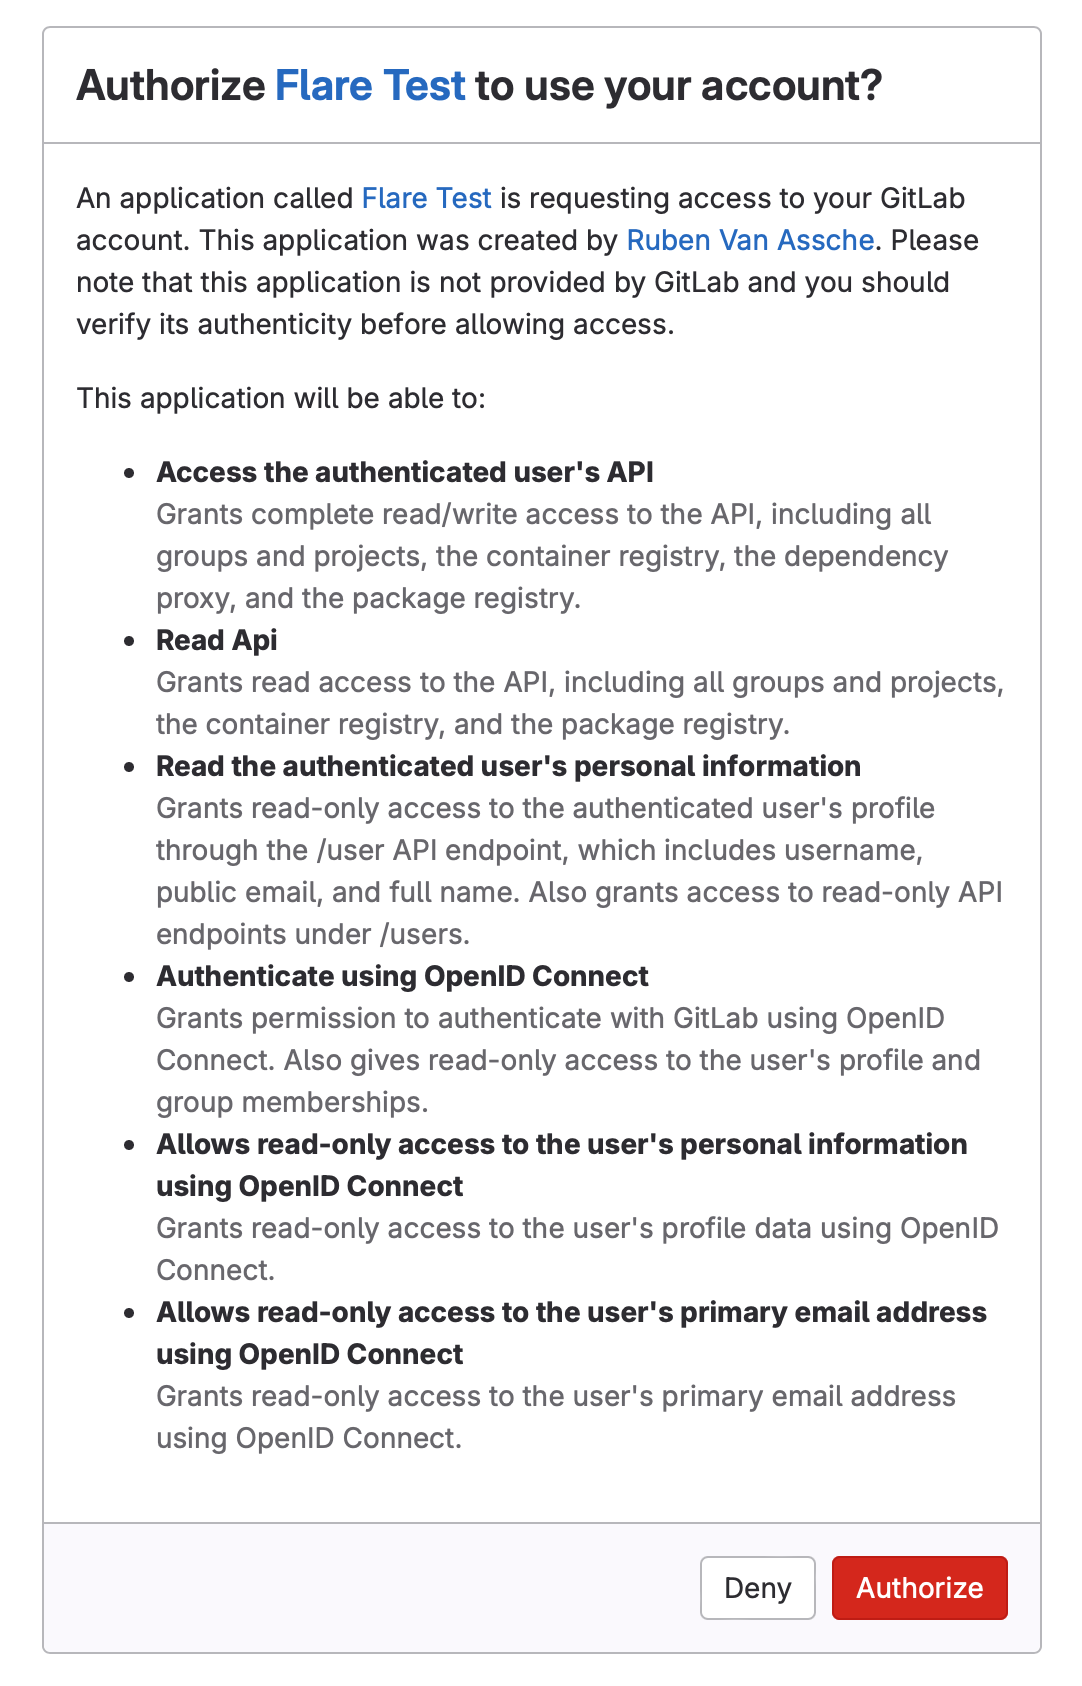
Finally GitLab will create an application ID and secret. Copy these values into the last stap of the wizard along with the URL of your GitLab instance. When you're done, click save, and you'll be redirected to your GitLab instance. Now you need to authorize that the app that you've created is allowed to communicate with Flare.
That's it, you've installed Gitlab.
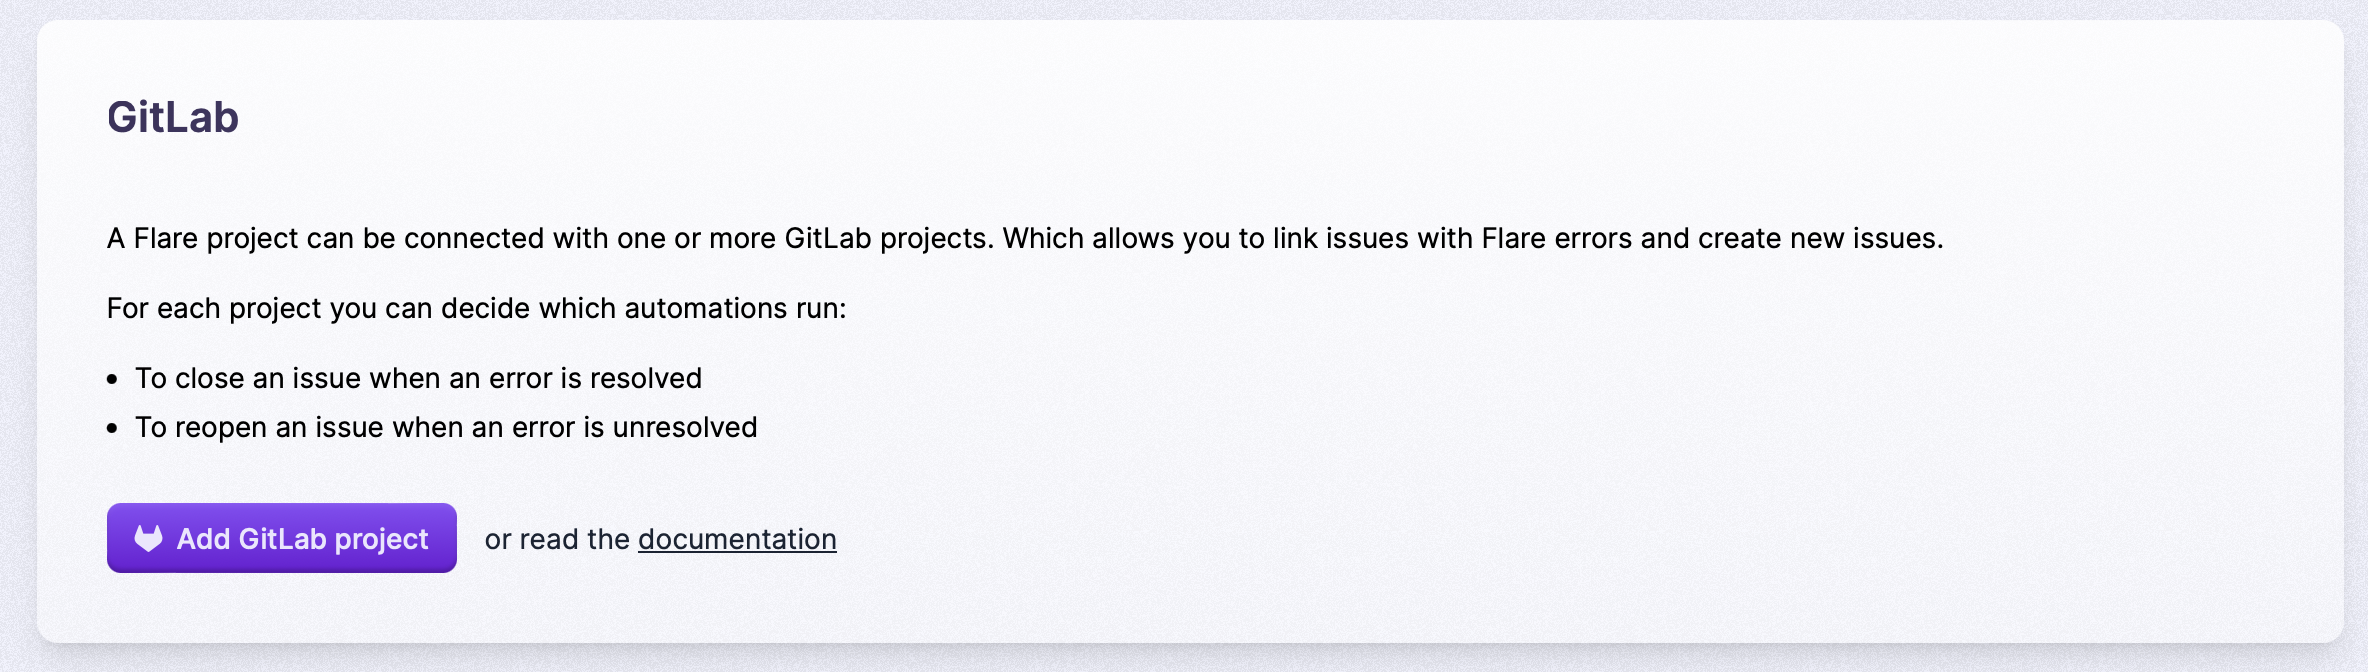
Adding GitLab to your projects
To connect GitLab to your projects, go to the integrations page in your project settings. Once there, you can add as many GitLab projects to your Flare project as you want.
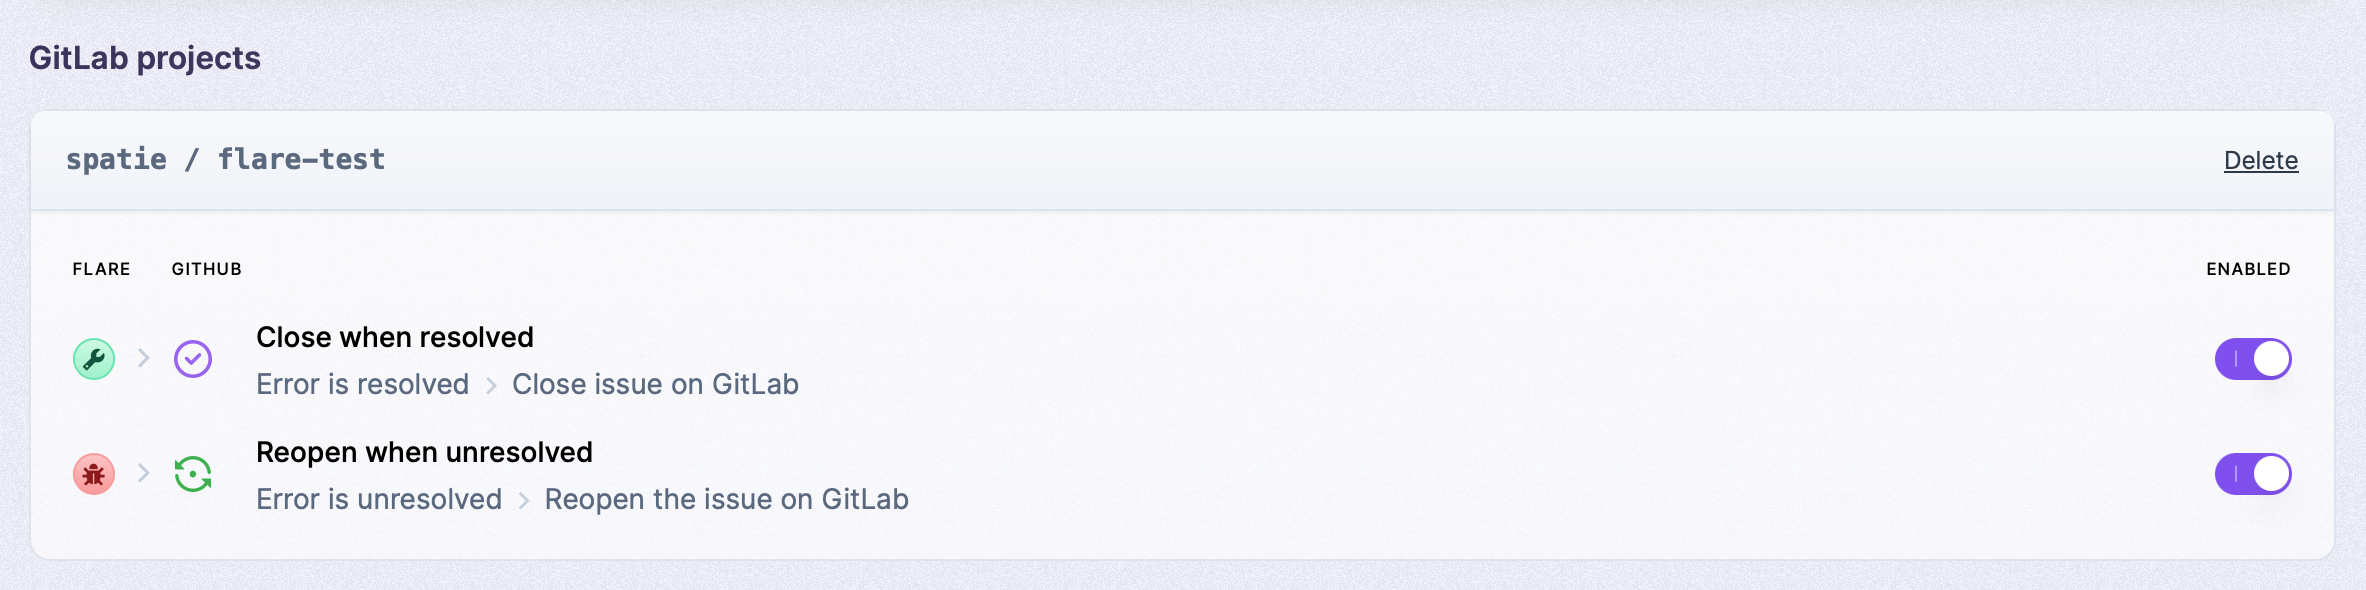
After linking the project, you're able to configure how Flare interacts with the GitLab project:
Associating Flare errors with GitLab issues
After you've connected a GitLab project to a Flare project, you'll see an extra button, "Issues", on each error in Flare.
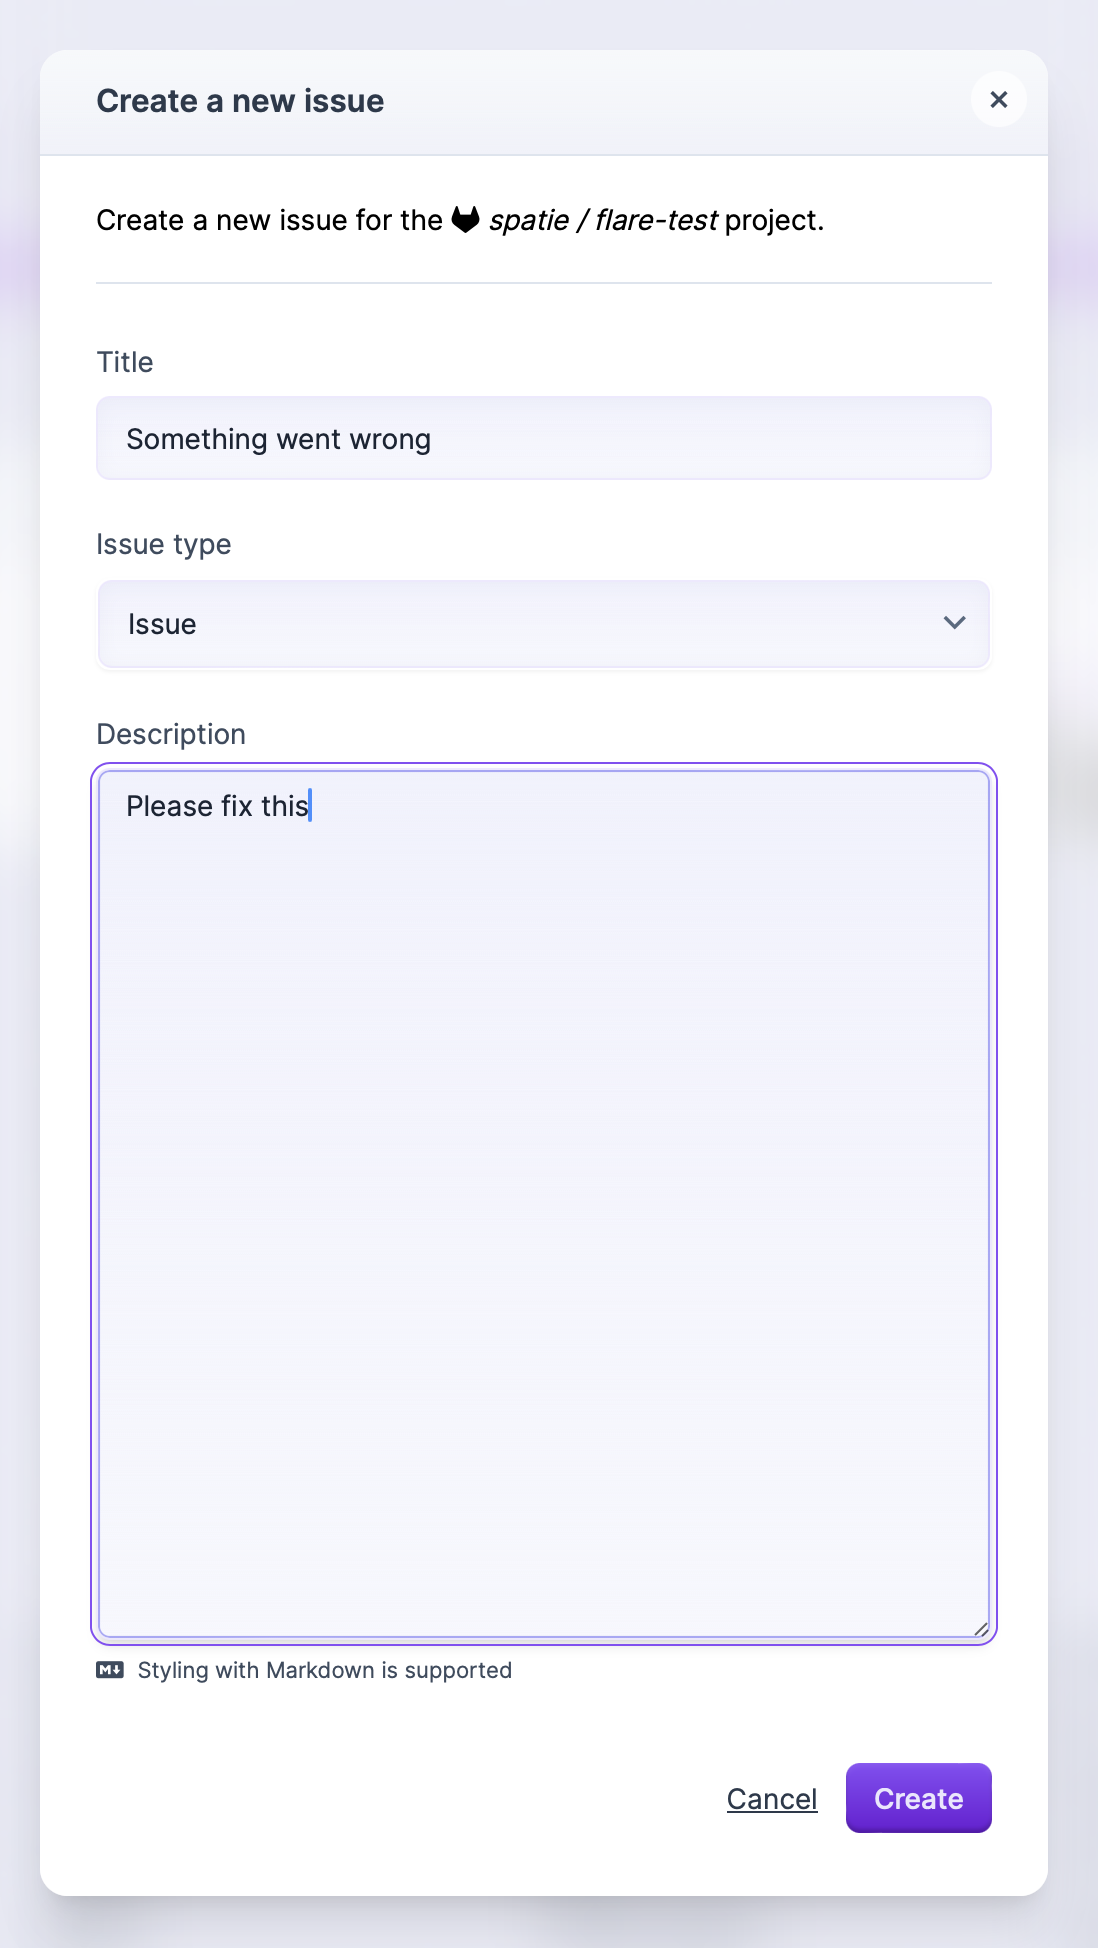
Clicking the "Create Issue" button allows you to create a new GitLab issue from Flare:
Issues linked to the error will appear on the issue's overview:
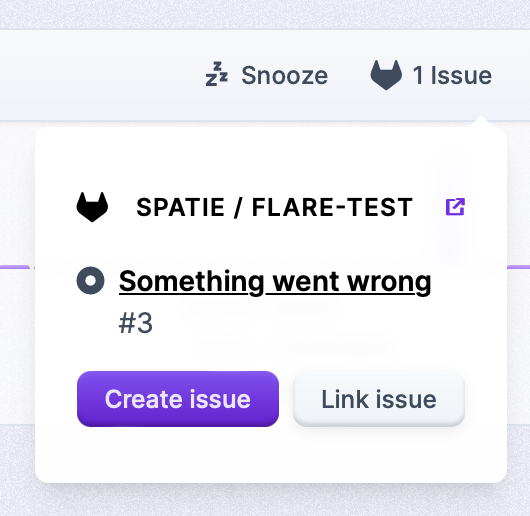
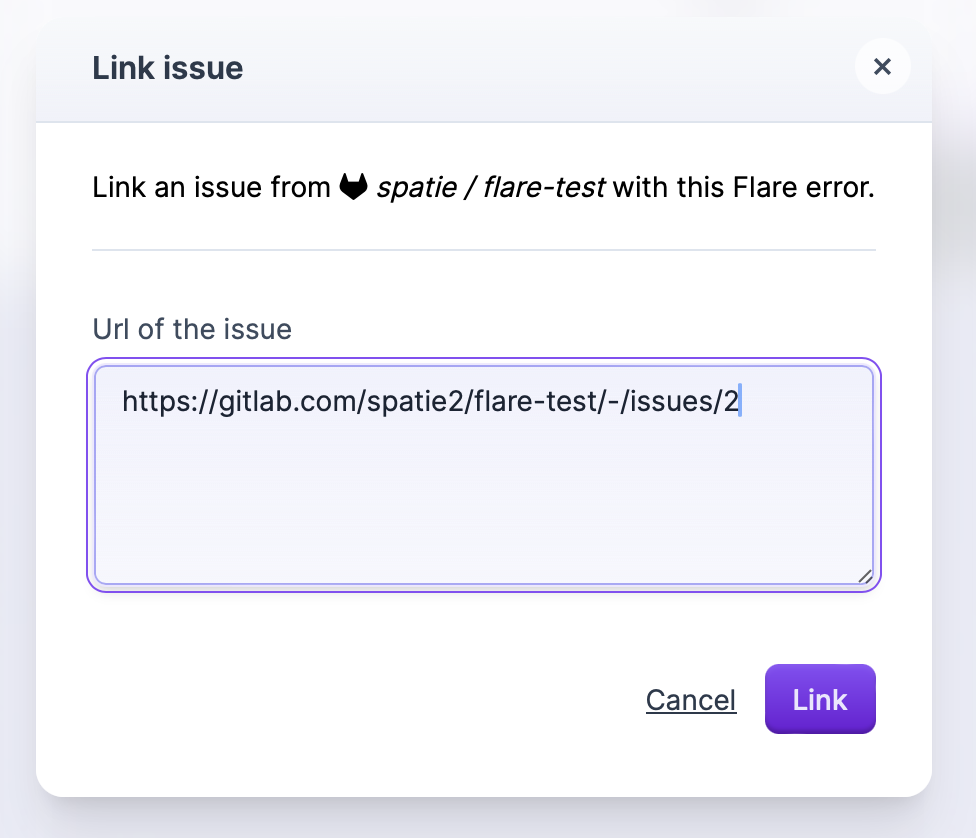
You can link existing issues by clicking the "Link issue" button on the issues overview of an error. Here, you can paste the URL of the GitLab issue: